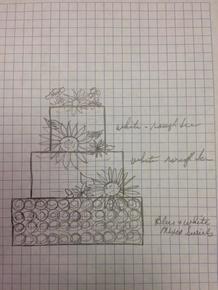
So almost 2 years ago now we gave my mom a party for her 80th birthday and I thought that I would share with you the cake that I made for her celebration. First I always start out with a drawing of the design that I want to do Believe me it usually a really rough sketch but it give me a starting point and helps to keep me focused. Otherwise who knows what tangent I will go off on and it could end up just a big mess. So here is the drawing that I did:
This one isn't as rough as some so I think you can get the idea of what I was going for. Also, I really like to use the graph paper. I allows me to be more accurate in sizing the layers and decorations.
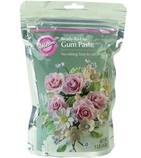
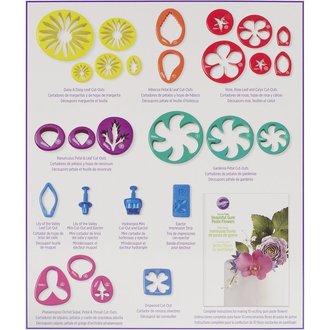
Next I needed to make the flowers to go on the cake. I used the Wilton Gumpaste Cutters (see pic below...I used the yellow ones) and cut them from Wilton gumpaste that I picked up from Michaels. You can always make your own gumpaste but for this I just went with the already prepared.
Wilton Gumpaste Cutters:
https://www.amazon.com/Wilton-2109-7987-28-Piece-Paste-Cutters/dp/B00TO3DLKA
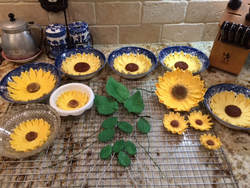
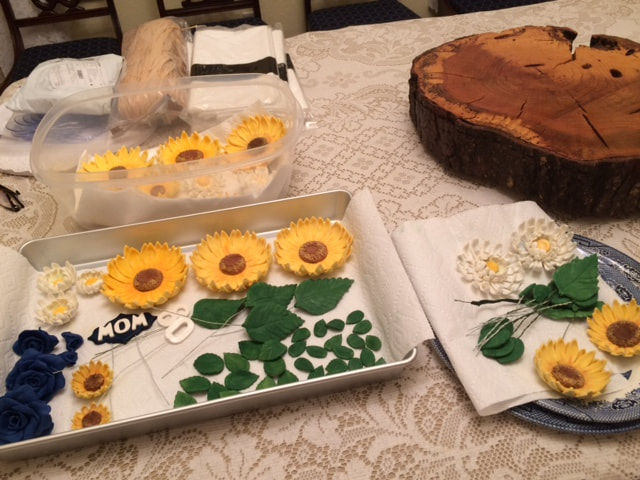
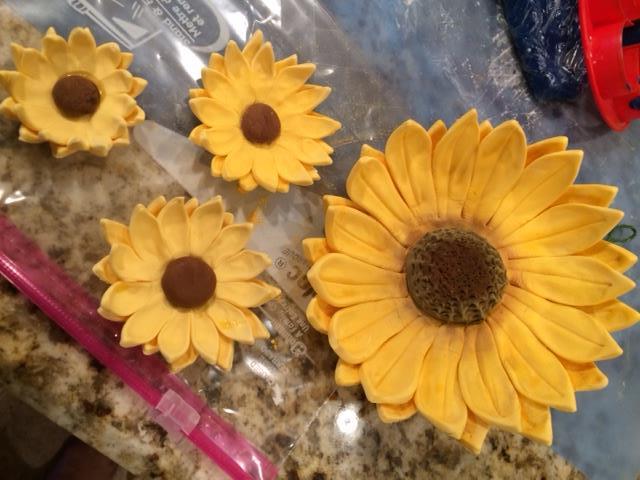
I wasn't really sure exactly how many flowers I would need so I just made a bunch in different sizes and ended up not using all of them. But...these things never go bad....they harden and if you are careful you can clean the buttercream off of them after the party and save them to use at a later date....what do you think about that??? Anyway, after cutting the flowers from the gumpaste the petals need to be thinned and curled and you can do this with the sugarpaste/fondant ball tool. There are videos all over on how to do this. Basically you carefully rub the edges of the petals with the ball tool until you have them as thin and curled as you want. Sorry, since I did this a couple of years ago I don't have any pictures or video. For the center of the flower I colored a small amount of gumpaste brown and then rolled into balls (size depends on flower size) and flattened them. Then textured them by making small indentations with a pointy tool and glued them to the center of the flower with sugar glue. As I finished one flower I would place it in a bowl, as you will see from the pictures, so that it would dry without going flat. Once the flowers were dry I 'painted' them with gold/yellow petal dust and the centers with brown plus a little dusting of yellow. For accents and to compliment the sunflowers I also made a few white flowers the same way and 4-5 navy roses out modeling chocolate. You can also use gumpaste for those. To finish, I made a whole bunch of leaves of different sizes, (for those I have a leaf cutter that also adds veining to the leaves) out of gumpaste that I had colored green and added a piece of florist wire. I let them dry and then dusted them the green petal dust.
This is all a very time consuming project but it is soooo worth it when you get it all put together.
This is all a very time consuming project but it is soooo worth it when you get it all put together.
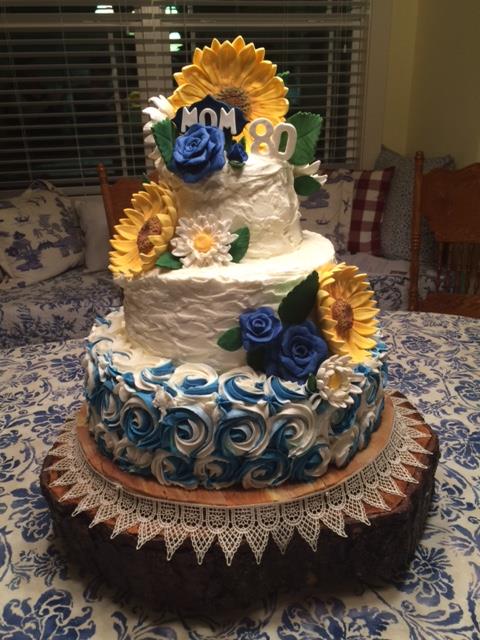
Then it was time to bake the cakes.....My mom loves the White Almond Sour Cream so the bottom tier and top tier were made of this and the middle tier was a delicious Chocolate version. Per my initial drawing the bottom tier was 14", the middle tier was 10" and the top tier was 6". All cakes were baked a couple days in advance, wrapped well and frozen. This helps the cake to remain moist and delicious!!!! The day before the party it was GO TIME so I removed the cakes from the freezer and did a crumb coat. The top two tiers were finished in a rustic looking white buttercream which I got by just using my icing spatula and making little short strokes all over. The bottom layer was covered in blue and white rosettes. For these I used one bag of blue frosting and one bag of white frosting and placed them both in a larger bag tipped with a large star tip. If you want to see how the rosettes are applied you can google 'buttercream rosettes" and find a lot of tutorials. I may try to make a video on this one day....anyway, here is a picture of the final product.
A fun time was had by all, ESPECIALLY MY MOM, and the cake was a hit!!!
Have a blessed day!!!!
Cathy
Have a blessed day!!!!
Cathy
 RSS Feed
